
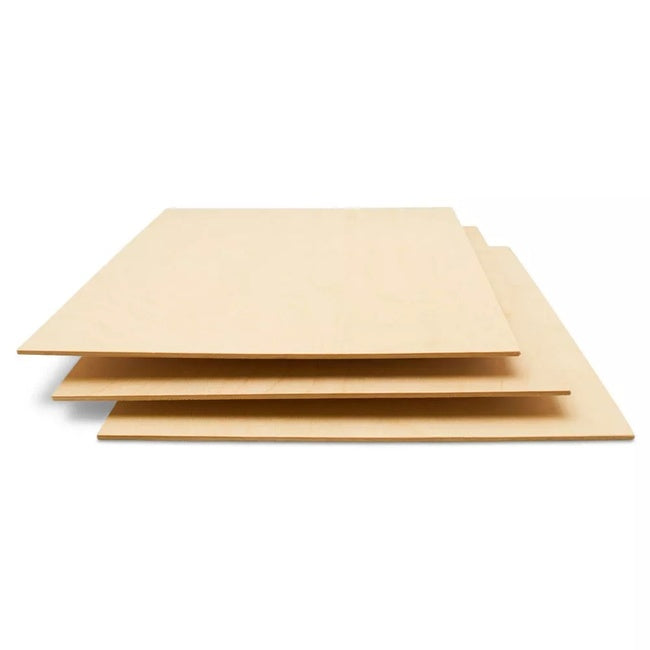
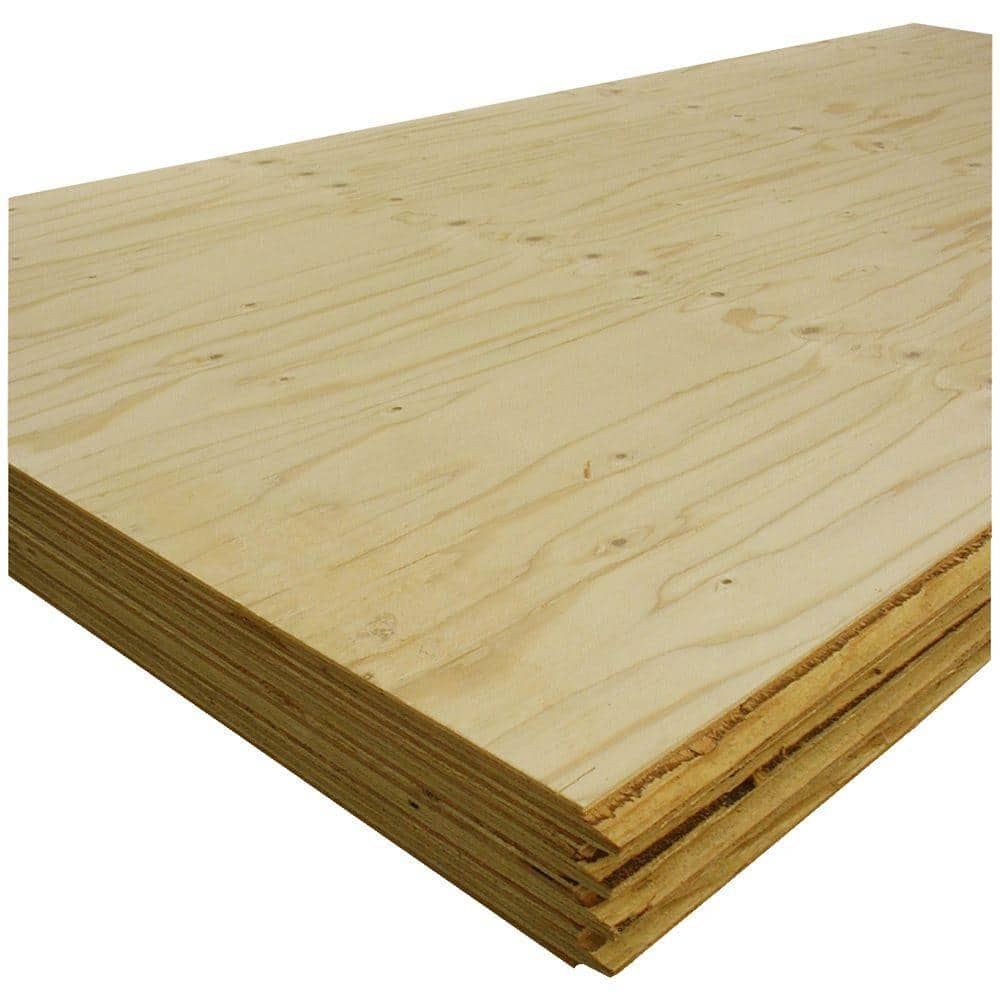
Plywood Thickness Guide: 9 Must-Know Sizes (Nominal vs Actual)
I still remember the first time I cut a dado for what I thought was “perfect” 1/2-inch plywood. The groove looked clean, but the panel rattled inside. That moment taught me a simple truth: plywood labels don’t always match reality.
This Plywood Thickness Guide: 9 Must-Know Sizes (Nominal vs Actual) will save you from that frustration. We’ll break down what “nominal” really means, what your calipers will actually read, and how to choose the right thickness without guesswork.
Think of plywood like a loaf of bread. The label says one size, but slicing and trimming change the final piece. In woodworking, those tiny differences matter a lot.
Nominal vs Actual Thickness: The Truth Behind the Label
When you walk into a store, the thickness printed on plywood is called nominal thickness. It’s a simplified name used for easy buying and selling.
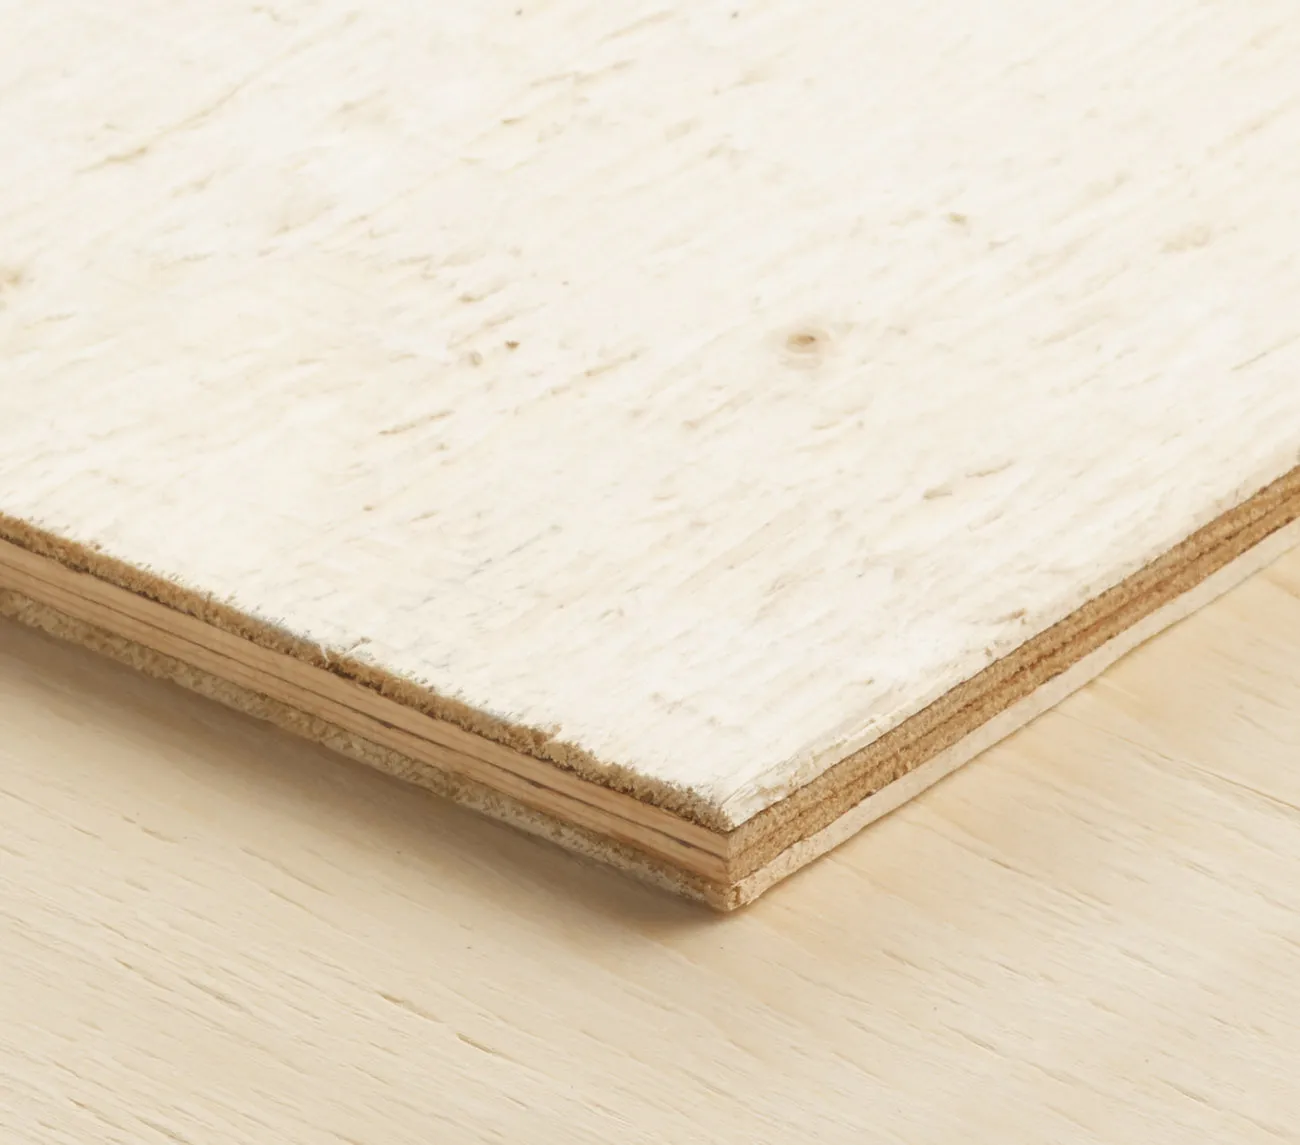
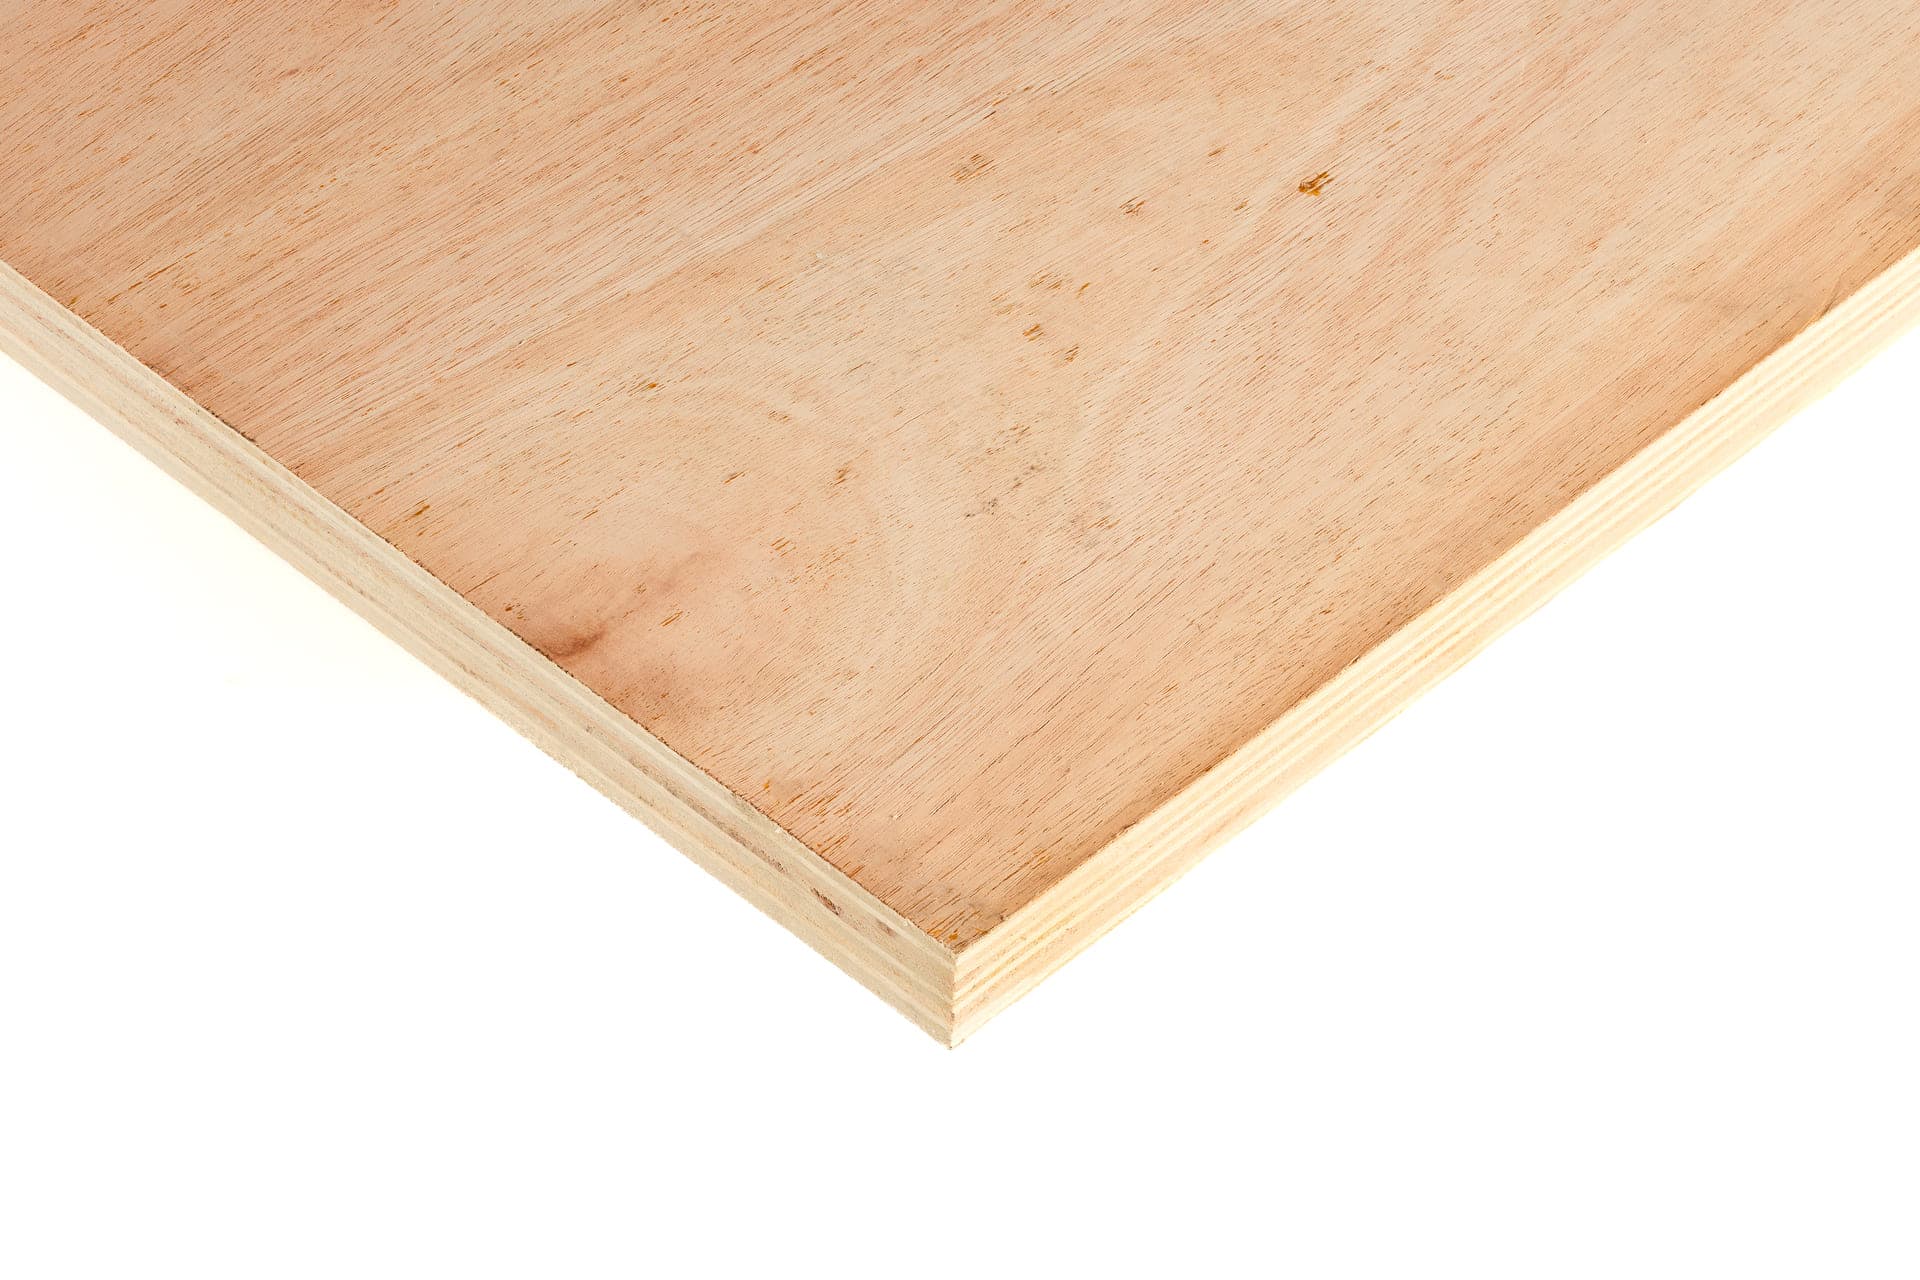
The actual thickness is what you measure after the panel is pressed, glued, and sanded. During production, sanding removes a thin layer to make the surface smooth. That small loss changes the final size.
Here’s the key idea:
- Nominal = label
- Actual = real measurement
Even a small difference, like 1/32 inch, can ruin a tight joint. That’s why experienced woodworkers trust their calipers more than the shelf tag.
Why Plywood Is Always Slightly Thinner
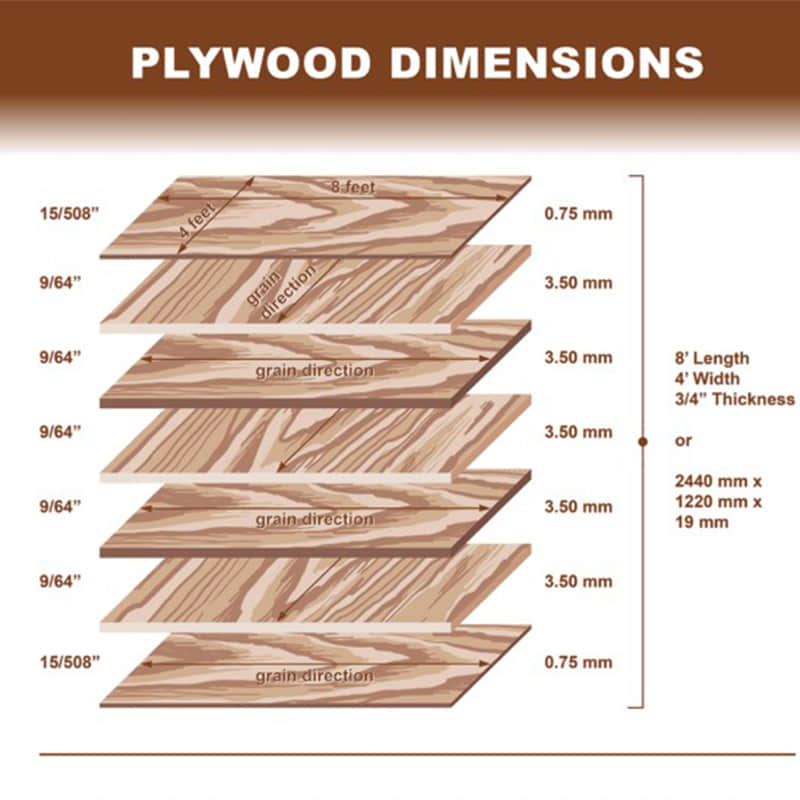
Plywood goes through a long process before it reaches your workshop. Veneers are glued, pressed, and then sanded flat.
That sanding step is where thickness shrinks. It ensures smooth faces but removes material. Different product types also aim for different targets. For example, structural sheathing may differ slightly from cabinet-grade plywood.
So when you buy a “1/2-inch” sheet, expect it to be less than 0.5 inches. This is not a mistake. It’s how the industry works.
Quick Overview: Common Nominal vs Actual Thickness
Here’s a simple table you can use for planning. Always measure your sheet before cutting.
| Nominal Size | Typical Actual Thickness | Common Use |
|---|---|---|
| 1/8 inch | 0.09–0.125 in | Skins, light panels |
| 1/4 inch | 0.20–0.25 in | Drawer bottoms |
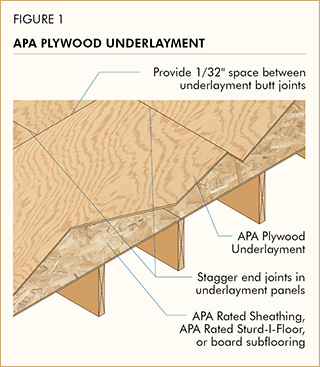
| 3/8 inch | 0.32–0.375 in | Underlayment |
| 1/2 inch | 0.45–0.50 in | Cabinets, shop builds |
| 19/32 inch | 0.58–0.61 in | Subfloor, sheathing |
| 5/8 inch | 0.59–0.625 in | Floors, panels |
| 3/4 inch | 0.70–0.75 in | Cabinets, shelves |
This chart is a guide, not a rule. Always double-check your material.
The 9 Must-Know Plywood Thickness Sizes
Let’s walk through the most common sizes you’ll see in real projects. These are the core of any Plywood Thickness Guide: 9 Must-Know Sizes (Nominal vs Actual).
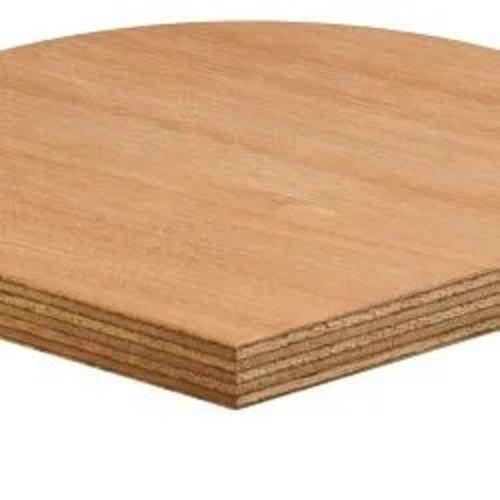
1. 1/8-Inch Plywood: The Flexible Skin

This is the thinnest plywood you’ll find in most stores. It feels more like a sheet than a board.
It’s perfect for:
- Curved surfaces
- Cabinet backs
- Decorative skins
But it has almost no strength. Think of it as a cover, not a structure. If you press it with your hand, it flexes easily.
2. 1/4-Inch Plywood: Light but Useful


This thickness is a favorite for drawer bottoms and cabinet backs. It’s still light but stronger than 1/8 inch.
Most sheets measure closer to 0.20–0.23 inches. That gap matters when fitting grooves.
I often use this size when I want to save weight without losing too much strength. It’s a balance between flexibility and function.
3. 3/8-Inch Plywood: The Middle Ground
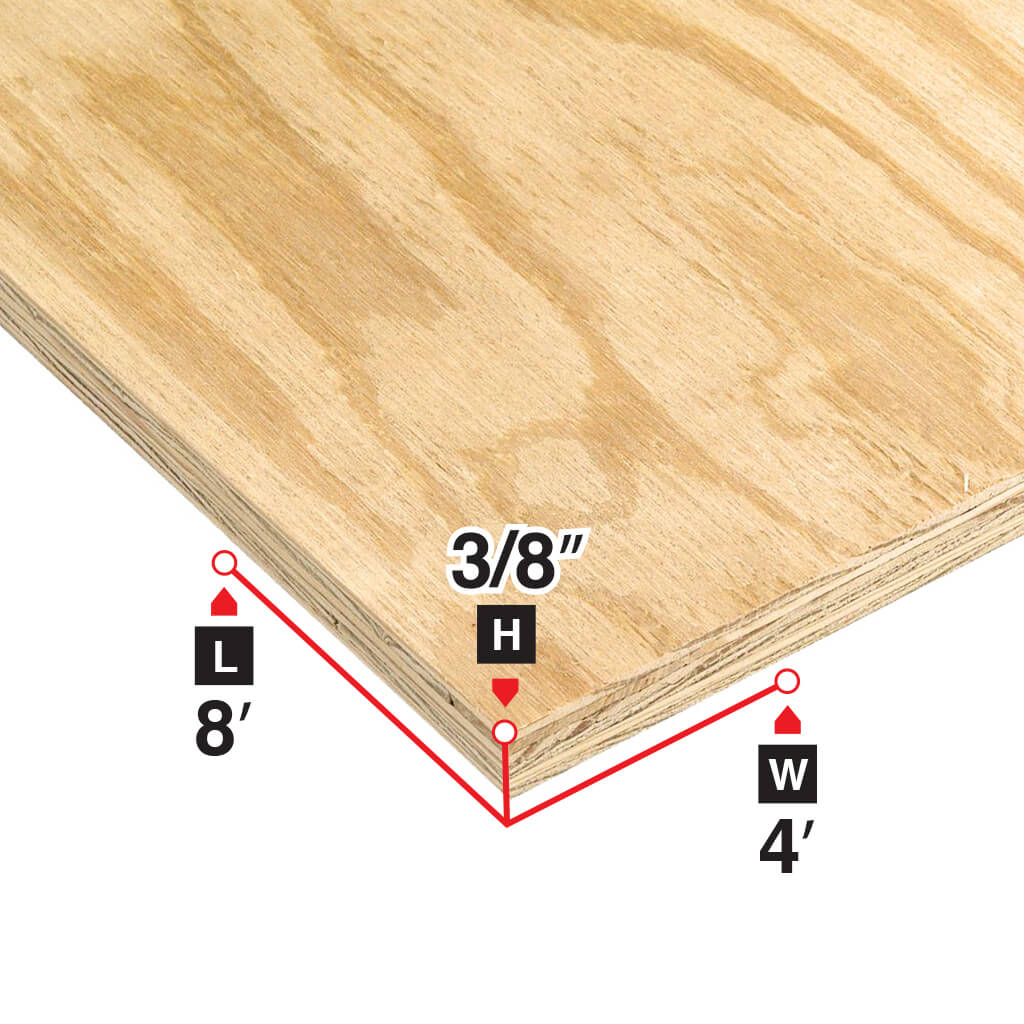

This size sits between light panels and structural sheets. It’s common in underlayment and light construction.
Actual thickness often falls around 0.34 inches. That slight reduction can affect how layers stack.
Use it when you need moderate strength but don’t want the weight of thicker boards.
4. 1/2-Inch Plywood: The Versatile Workhorse
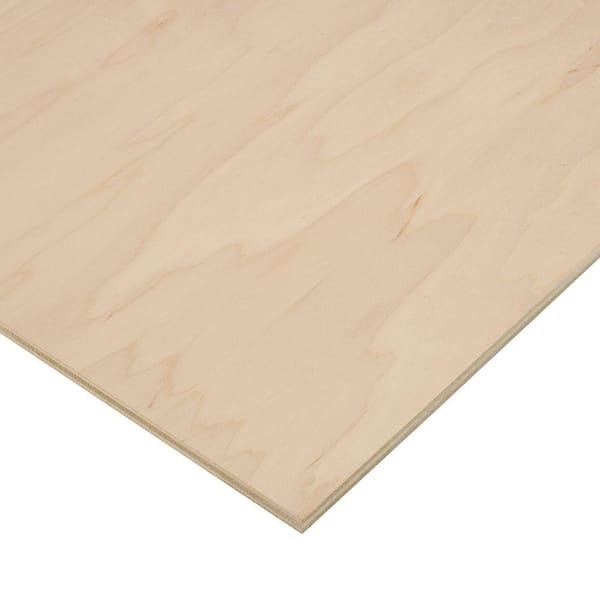

This is where things get interesting. Many projects rely on 1/2-inch plywood, but it rarely measures a true half inch.
Most sheets land around 15/32 inch (0.469 inches). That difference can ruin joinery if you don’t adjust your tools.
It’s great for:
- Cabinet parts
- Drawer boxes
- Shop projects
Think of it as the “everyday” plywood. Strong, manageable, and widely available.
5. 19/32-Inch Plywood: The Confusing One

This size confuses many beginners. It’s not 1/2 inch, and it’s not exactly 5/8 inch either.
At 0.594 inches, it sits closer to 5/8. Builders use it for floors and roofs because it meets structural standards.
If you try to fit it into a groove cut for 1/2-inch plywood, it won’t fit. This is where many mistakes happen.
6. 5/8-Inch Plywood: Strong and Stable
This thickness is common in flooring and heavy-duty panels. It offers more stiffness than 1/2 inch.
Actual measurements often range from 0.59 to 0.62 inches.
If you need strength without jumping to 3/4 inch, this is a smart choice.
7. 3/4-Inch Plywood: The Builder’s Favorite


This is the most popular thickness for furniture and cabinets. It’s strong, stable, and holds screws well.
Most sheets measure around 23/32 inch (0.718 inches).
Use it for:
- Shelves
- Cabinet boxes
- Furniture frames
If plywood had a “default setting,” this would be it.
8. 1-Inch Plywood: Heavy-Duty Choice


This size is less common but very useful. It’s used for strong surfaces like workbenches and heavy-duty tables.
It’s thick, heavy, and expensive. But it offers serious strength.
Sometimes, two thinner sheets glued together can perform even better than a single thick one.
9. Specialty Thick Panels: Beyond Standard Sizes


Specialty suppliers offer thicker panels beyond 1 inch. These are not common in regular stores.
They are used in:
- Industrial builds
- Large structures
- Custom furniture
But for most projects, standard sizes are enough.
Simple Rule: Always Measure First
Before you cut anything, follow this habit:
- Measure with calipers
- Check multiple spots
- Avoid damaged edges
- Write the measurement on the sheet
This small step can save hours of frustration.
Why Thickness Matters in Real Projects
Thickness is not just a number. It affects how everything fits together.
For example:
- Dados can become loose
- Shelves may sag
- Hardware may not align
In simple terms, thickness controls strength, fit, and durability.
Ignoring it is like building a house on guesswork.
How to Measure Plywood Thickness Correctly
Measuring plywood is simple, but it needs care. A quick guess can ruin a clean joint.
Start with a caliper instead of a tape measure. A tape won’t show small differences. Check at least three spots on the sheet. Avoid corners because they are often damaged.
I like to mark the thickness on painter’s tape and stick it on the board. It sounds small, but it saves time later.
Treat this step like checking your fuel before a long trip. Skip it, and you may get stuck halfway.
Real Shop Tip: Why Calipers Beat Guesswork
In my early days, I trusted labels too much. I cut a groove for “3/4-inch plywood,” and the shelf wobbled like a loose tooth.
When I started using calipers, everything changed. Joints became tight. Cuts felt precise. Projects looked cleaner.
A caliper gives you the truth. It removes doubt. And in woodworking, confidence matters as much as skill.
If you only upgrade one tool in your shop, make it a good caliper.
Where Thickness Differences Cause Problems
Thickness errors show up fast in real projects. Even a small gap can ruin the final look.
Here are common trouble spots:
- Dados and rabbets become loose
- Shelves sag more than expected
- Cabinet hardware misaligns
- Drawer slides don’t sit flush
Think of plywood like puzzle pieces. If one piece is off, the whole puzzle looks wrong.
That’s why this Plywood Thickness Guide: 9 Must-Know Sizes (Nominal vs Actual) focuses so much on real measurements.
Choosing the Right Thickness for Your Project
Picking the right plywood is like choosing the right shoes. You need the right fit for the job.
Here’s a simple guide:
- Use 1/4 inch for light panels
- Use 1/2 inch for cabinet parts
- Use 3/4 inch for shelves and furniture
- Use 5/8 or 19/32 for floors
If you’re unsure, go slightly thicker. It’s safer than going too thin.
Always balance strength, weight, and cost. The best choice is not always the thickest one.
Quick Checklist Before You Cut
Before making your first cut, run through this checklist:
- Measure thickness in at least three places
- Cut a test joint in scrap
- Adjust your blade or router
- Label your sheet clearly
- Re-check if you switch sheets
This habit turns mistakes into rare events. It also builds confidence in your work.
Pro Tip: Test Cuts Save Projects
A test cut may feel like extra work, but it saves time.
Cut a small groove in scrap from the same sheet. Fit your piece into it. Adjust if needed.
This step is like a rehearsal before a performance. It helps you avoid surprises.
Many professionals rely on this step every day. It’s simple, but powerful.
Common Mistakes Beginners Make
I’ve made all of these mistakes at least once. You might too.
- Trusting the label instead of measuring
- Using one setting for all sheets
- Ignoring small thickness differences
- Skipping test cuts
- Mixing sheets from different batches
These errors are easy to fix once you know them. Awareness is the first step.
When to Use Thicker vs Thinner Panels
Choosing thickness is about purpose.
Use thinner panels when:
- You need flexibility
- Weight matters
- The panel is supported
Use thicker panels when:
- Strength is critical
- The span is long
- You need screw holding
Think of it like clothing. Light fabric works in summer. Heavy fabric works in winter. The right choice depends on the situation.
A Simple Story: Learning the Hard Way
I once built a cabinet with “3/4-inch plywood.” The shelves looked strong, but they sagged after a few weeks.
Later, I measured the sheet. It was closer to 0.70 inches. That small difference changed everything.
That project taught me a lesson I never forgot: measure first, trust later.
Now, every project starts with a caliper check. It’s part of my routine.
FAQs About Plywood Thickness
1. Why is plywood thinner than its label?
Because of sanding and manufacturing processes. The final surface is smoothed, which removes material.
2. What is the actual thickness of 1/2-inch plywood?
Most sheets measure around 0.45 to 0.50 inches, often near 15/32 inch.
3. Is 19/32 plywood the same as 1/2 inch?
No. It is thicker and behaves closer to a 5/8-inch panel.
4. How thick is 3/4-inch plywood really?
Usually around 0.70 to 0.75 inches, often near 23/32 inch.
5. Should I always measure plywood?
Yes. Even sheets from the same stack can vary slightly.
6. What is the thinnest plywood available?
Most stores sell 1/8-inch plywood, mainly for light-duty use.
7. Can I rely on store labels?
Use them as a guide, but always confirm with tools.
Final Thoughts: Build Smarter, Not Harder
The biggest lesson from this Plywood Thickness Guide: 9 Must-Know Sizes (Nominal vs Actual) is simple. Labels are just names. Measurements are truth.
When you measure first, everything fits better. Joints stay tight. Shelves stay strong. Projects look clean.
Think of your caliper as your best friend in the shop. It keeps your work honest.
In the end, great woodworking is not about luck. It’s about small habits done right.