How to Finish Walnut Wood: 7 Easy Steps for a Rich, Durable Glow
If you’ve ever held a smooth walnut board in your hands, you know the feeling. It already looks beautiful, yet you hesitate. One wrong move, and you fear you’ll ruin it. I’ve been there too, staring at that deep brown grain, unsure where to start.
The truth is simple. Walnut is forgiving, but it still needs care. The right finish brings out warmth, depth, and life. The wrong one can make it dull and flat.
This guide on How to Finish Walnut Wood: 7 Easy Steps for a Rich, Durable Glow will walk you through everything in a clear and friendly way. No stress. Just a simple path to a rich, lasting finish.
What Makes Walnut Wood So Special?


4
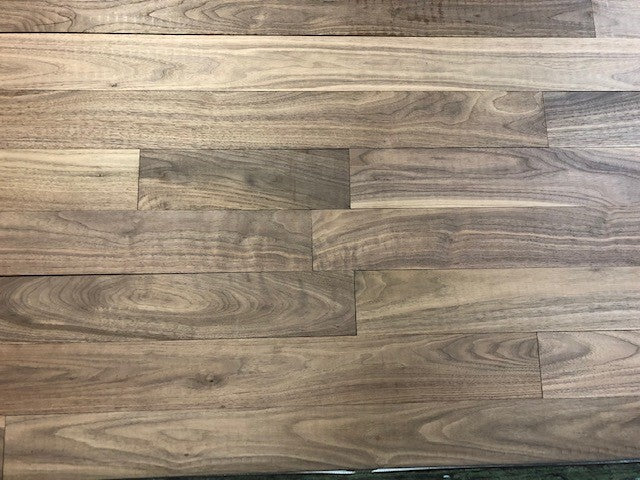
Walnut is one of those woods that almost looks finished on its own. But there’s more going on beneath the surface. It has open pores, a medium hardness, and a naturally dark tone.
Raw walnut often looks pale or slightly gray. It can feel dry. Once you apply oil or finish, it transforms. The grain becomes alive, and the color deepens into a rich chocolate tone.
Here are the key traits that matter:
- Color depth: Finishes enhance contrast and warmth
- Visible pores: You can keep texture or smooth it out
- Durability needs: Depends on how you use the piece
Think of walnut like a quiet voice. The finish helps it speak louder.
Step 1: Decide the Look and Purpose First
Before sanding or opening a can of finish, pause. Ask yourself what you want from the piece. This step shapes everything that follows.
Is it a daily-use table or a decorative shelf? Do you want a natural matte feel or a glossy shine? These choices matter more than the product you pick.
Here’s a simple guide:
- Light-use items: go with oil or oil + light topcoat
- Heavy-use furniture: oil + varnish or polyurethane
- Food-safe items: use mineral oil or board cream
I once finished a desk with only oil. It looked amazing for a week. Then came coffee rings. Lesson learned.
Step 2: Proper Prep Makes or Breaks the Finish


4
Finishing starts long before the finish. It starts with prep. If you rush here, the final result will show it.
First, inspect the surface. Look for glue spots, dents, or scratches. Glue is tricky. It blocks finish and leaves pale patches.
Then sand in stages:
- Start with 120 grit if rough
- Move to 150 or 180 grit
- Finish at 220 grit
Take your time. Each grit should remove the marks from the last.
Break sharp edges with light sanding. Sharp corners don’t hold finish well. They chip easily.
Finally, clean the dust. Use a vacuum or a damp cloth. Check under good light. What you see now will show later.
Step 3: Choosing the Right Finish Type


4
This is where many people get stuck. But don’t worry. You don’t need dozens of options. Just understand a few basics.
Common Finish Types for Walnut
| Finish Type | Look | Protection | Best Use |
|---|---|---|---|
| Oil only | Natural, matte | Low | Decor items |
| Oil + varnish | Warm with slight sheen | Medium-high | Tables, desks |
| Hardwax oil | Soft, natural | Medium | Furniture |
| Polyurethane | Glossy or satin | High | Heavy-use surfaces |
Oil finishes bring out grain depth. Polyurethane builds a strong layer. Hardwax oil sits in between.
If you’re unsure, go with oil plus wiping varnish. It gives both beauty and strength.
Step 4: Always Test on a Scrap First
This step is simple but often skipped. And skipping it can cost you.
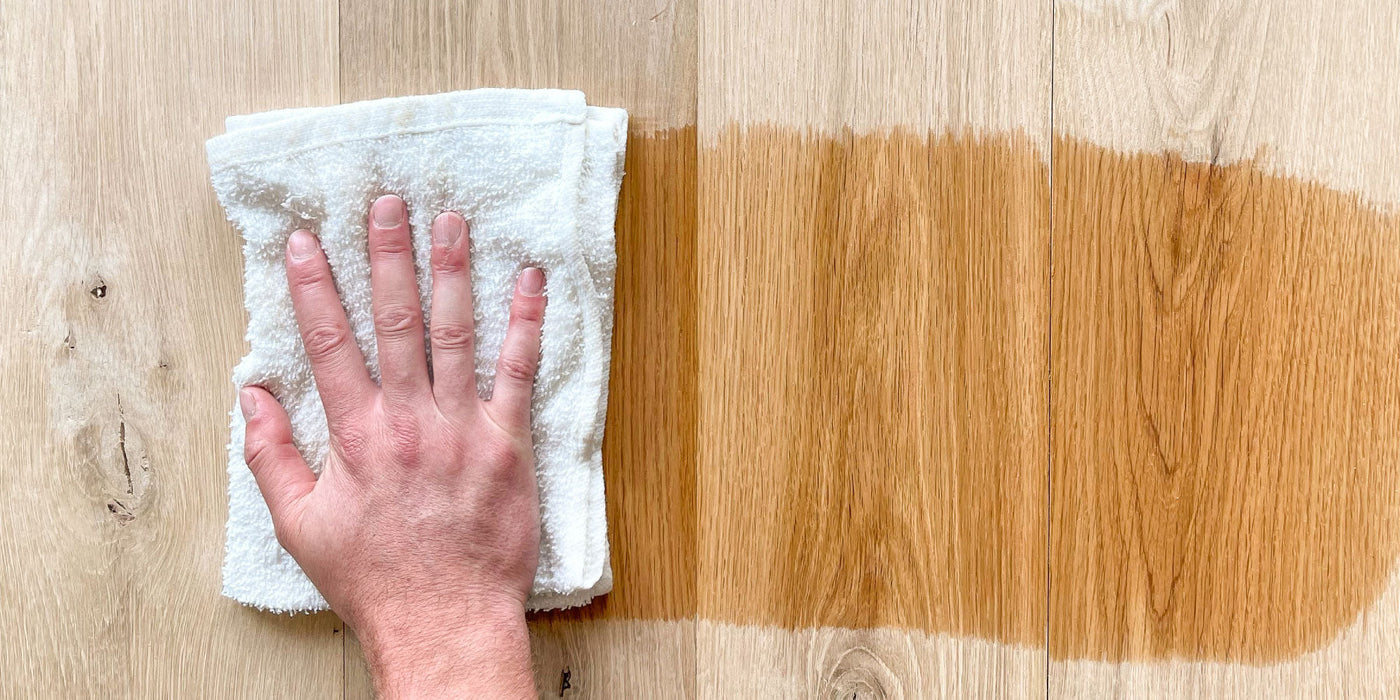
Use a leftover piece from your walnut board. Sand it the same way as your project. Then apply your chosen finish.
Watch how the color changes. Walnut can surprise you. Some boards turn darker than expected.
Testing helps you avoid regret. It’s like tasting food before serving. You adjust before it’s too late.
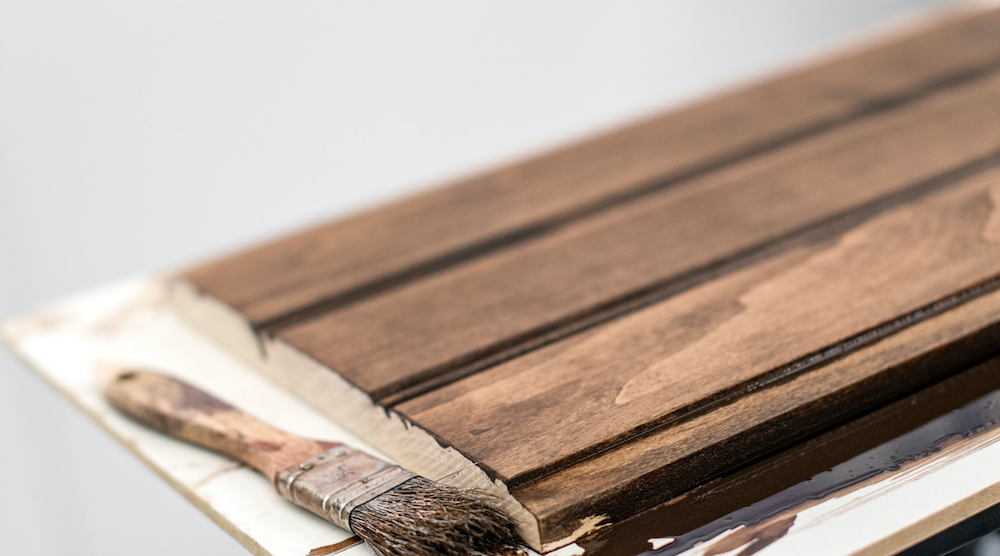
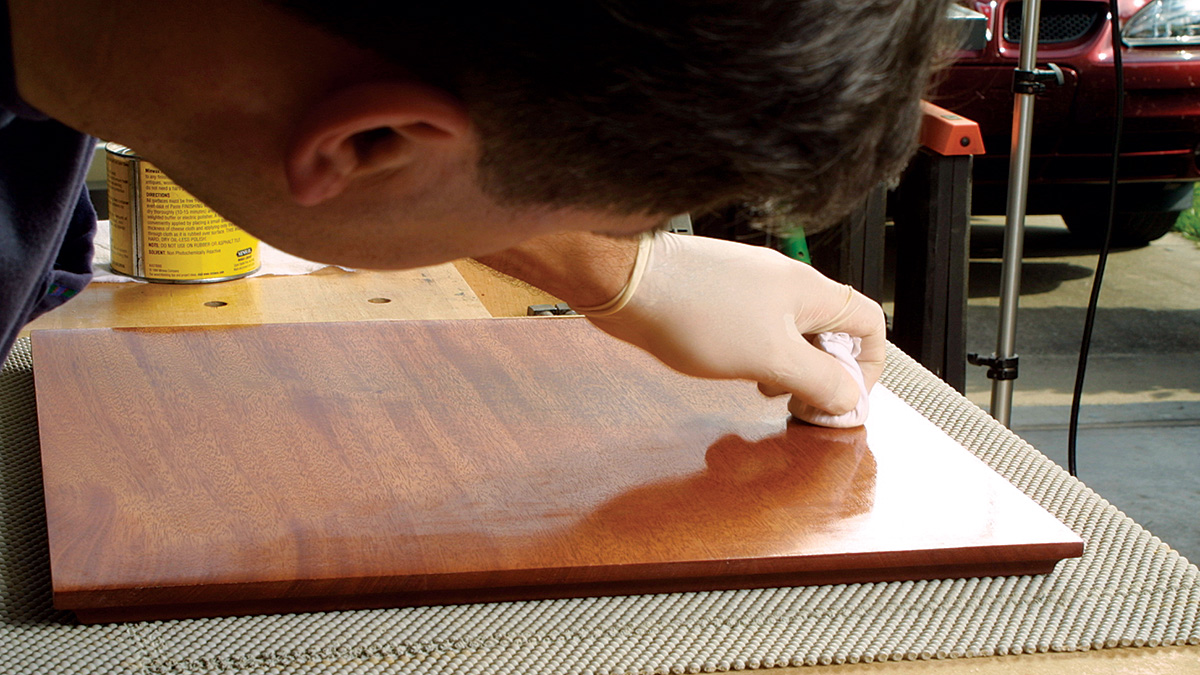
Step 5: Apply the First Oil Coat the Right Way


4
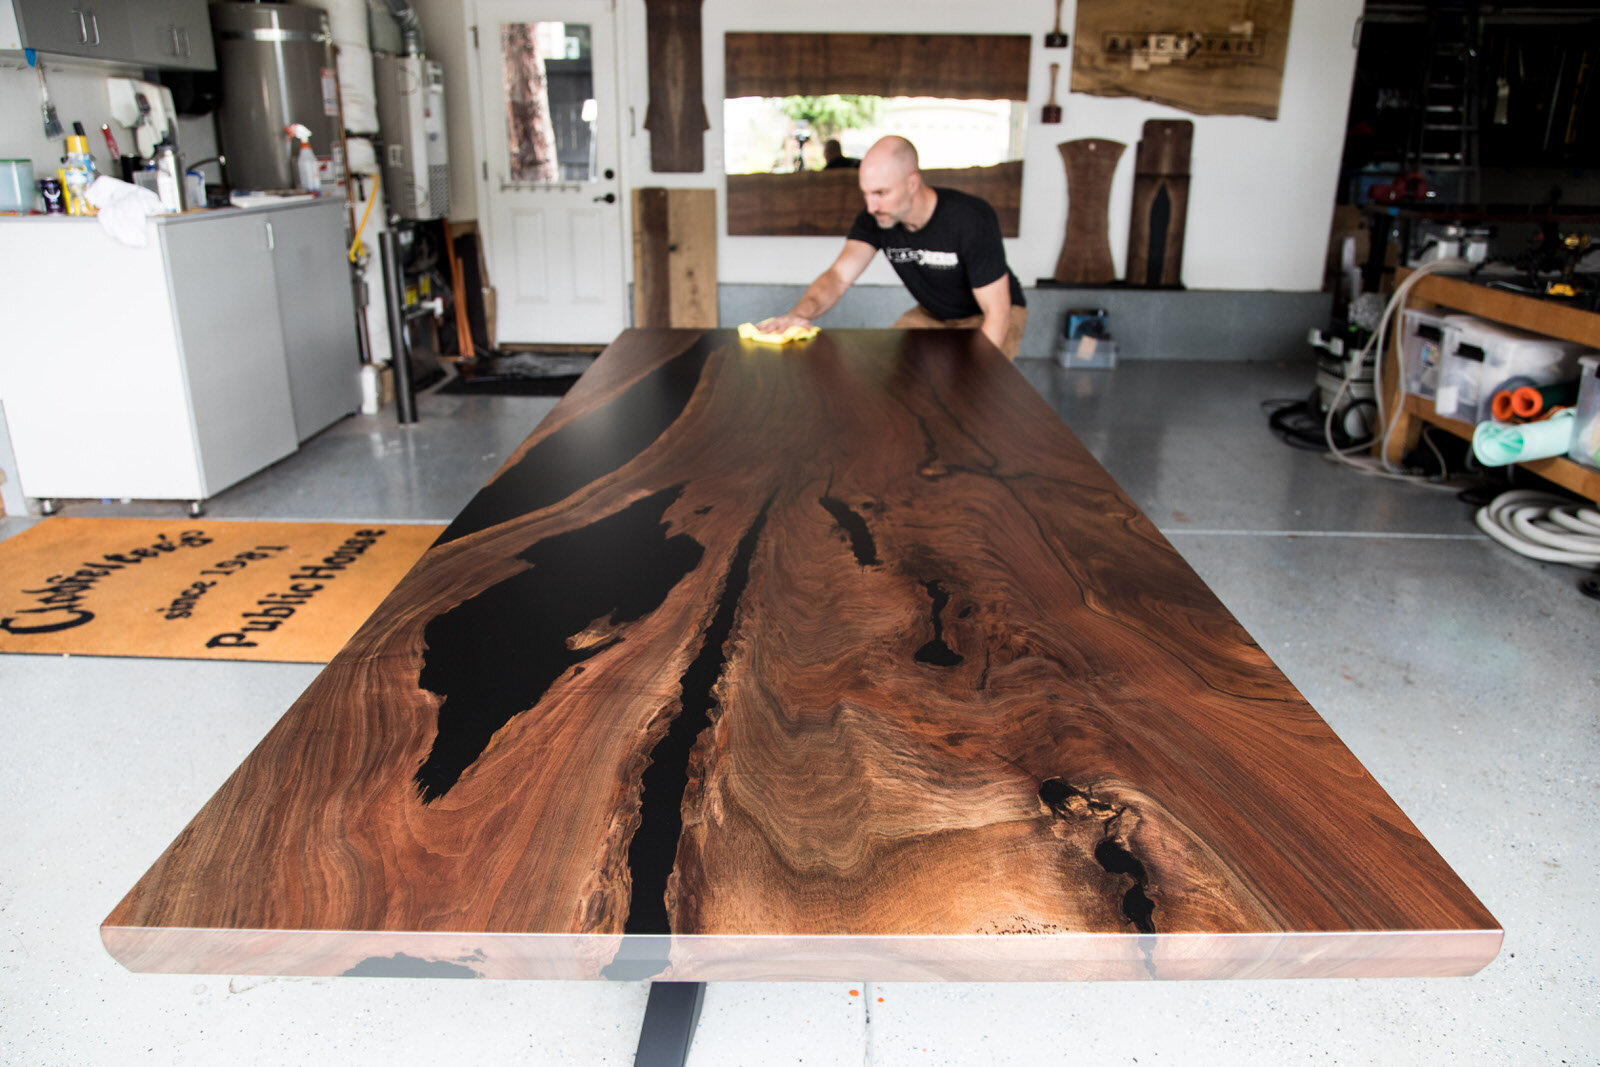
Now comes the fun part. The moment walnut starts to glow.
Pour a small amount of oil onto a cloth or directly onto the wood. Spread it evenly along the grain. Make sure the surface looks wet.
Let it sit for 10 to 15 minutes. The wood will absorb what it needs. If dry spots appear, add more oil.
Then wipe off all excess. This step is key. The surface should feel slightly damp, not sticky.
Let it dry overnight.
Safety note: Oily rags can catch fire. Lay them flat outside or store them safely.
Step 6: Light Sanding After Oil for Smoothness
After the oil dries, the surface may feel slightly rough. This is normal. The grain rises a bit.
Use a fine sanding pad or 400-grit sandpaper. Lightly sand with the grain. Don’t press hard.
This step smooths the surface and prepares it for the next layer.
Wipe away all dust again. A clean surface gives a better finish.
Step 7: Build Protective Coats for Durability


4
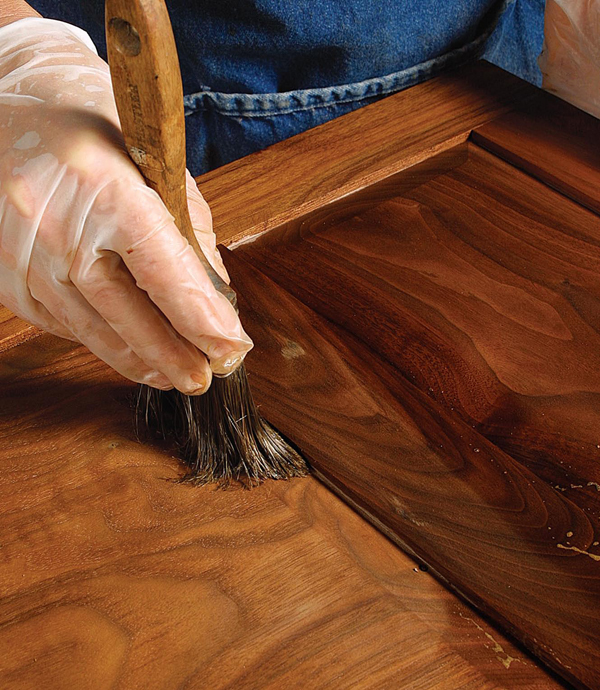
This is where your project becomes strong and long-lasting. Apply thin coats of wiping varnish or polyurethane.
Use a soft cloth or applicator. Spread a thin, even layer. Avoid puddles or thick spots.
Let it dry fully. Then lightly sand with fine grit. Clean the dust.
Repeat this process:
- 2–3 coats for light use
- 3–5 coats for heavy use
Each layer builds protection and enhances sheen. Stop when it feels right for your needs.
Key Takeaways So Far
Let’s pause and simplify the process of How to Finish Walnut Wood: 7 Easy Steps for a Rich, Durable Glow:
- Decide how the piece will be used
- Prepare the surface carefully
- Choose a finish that matches your goal
- Test before applying
- Apply oil properly
- Smooth the surface
- Build thin protective layers
Each step builds on the last. Skip one, and the result suffers.
A Quick Personal Insight
The first time I finished walnut, I rushed. I skipped proper sanding. I applied thick coats. The result looked cloudy and uneven.
It taught me something simple. Walnut rewards patience. It doesn’t need fancy tricks. It needs care and consistency.
Think of it like cooking a slow meal. You can’t rush it. But the result is worth it.
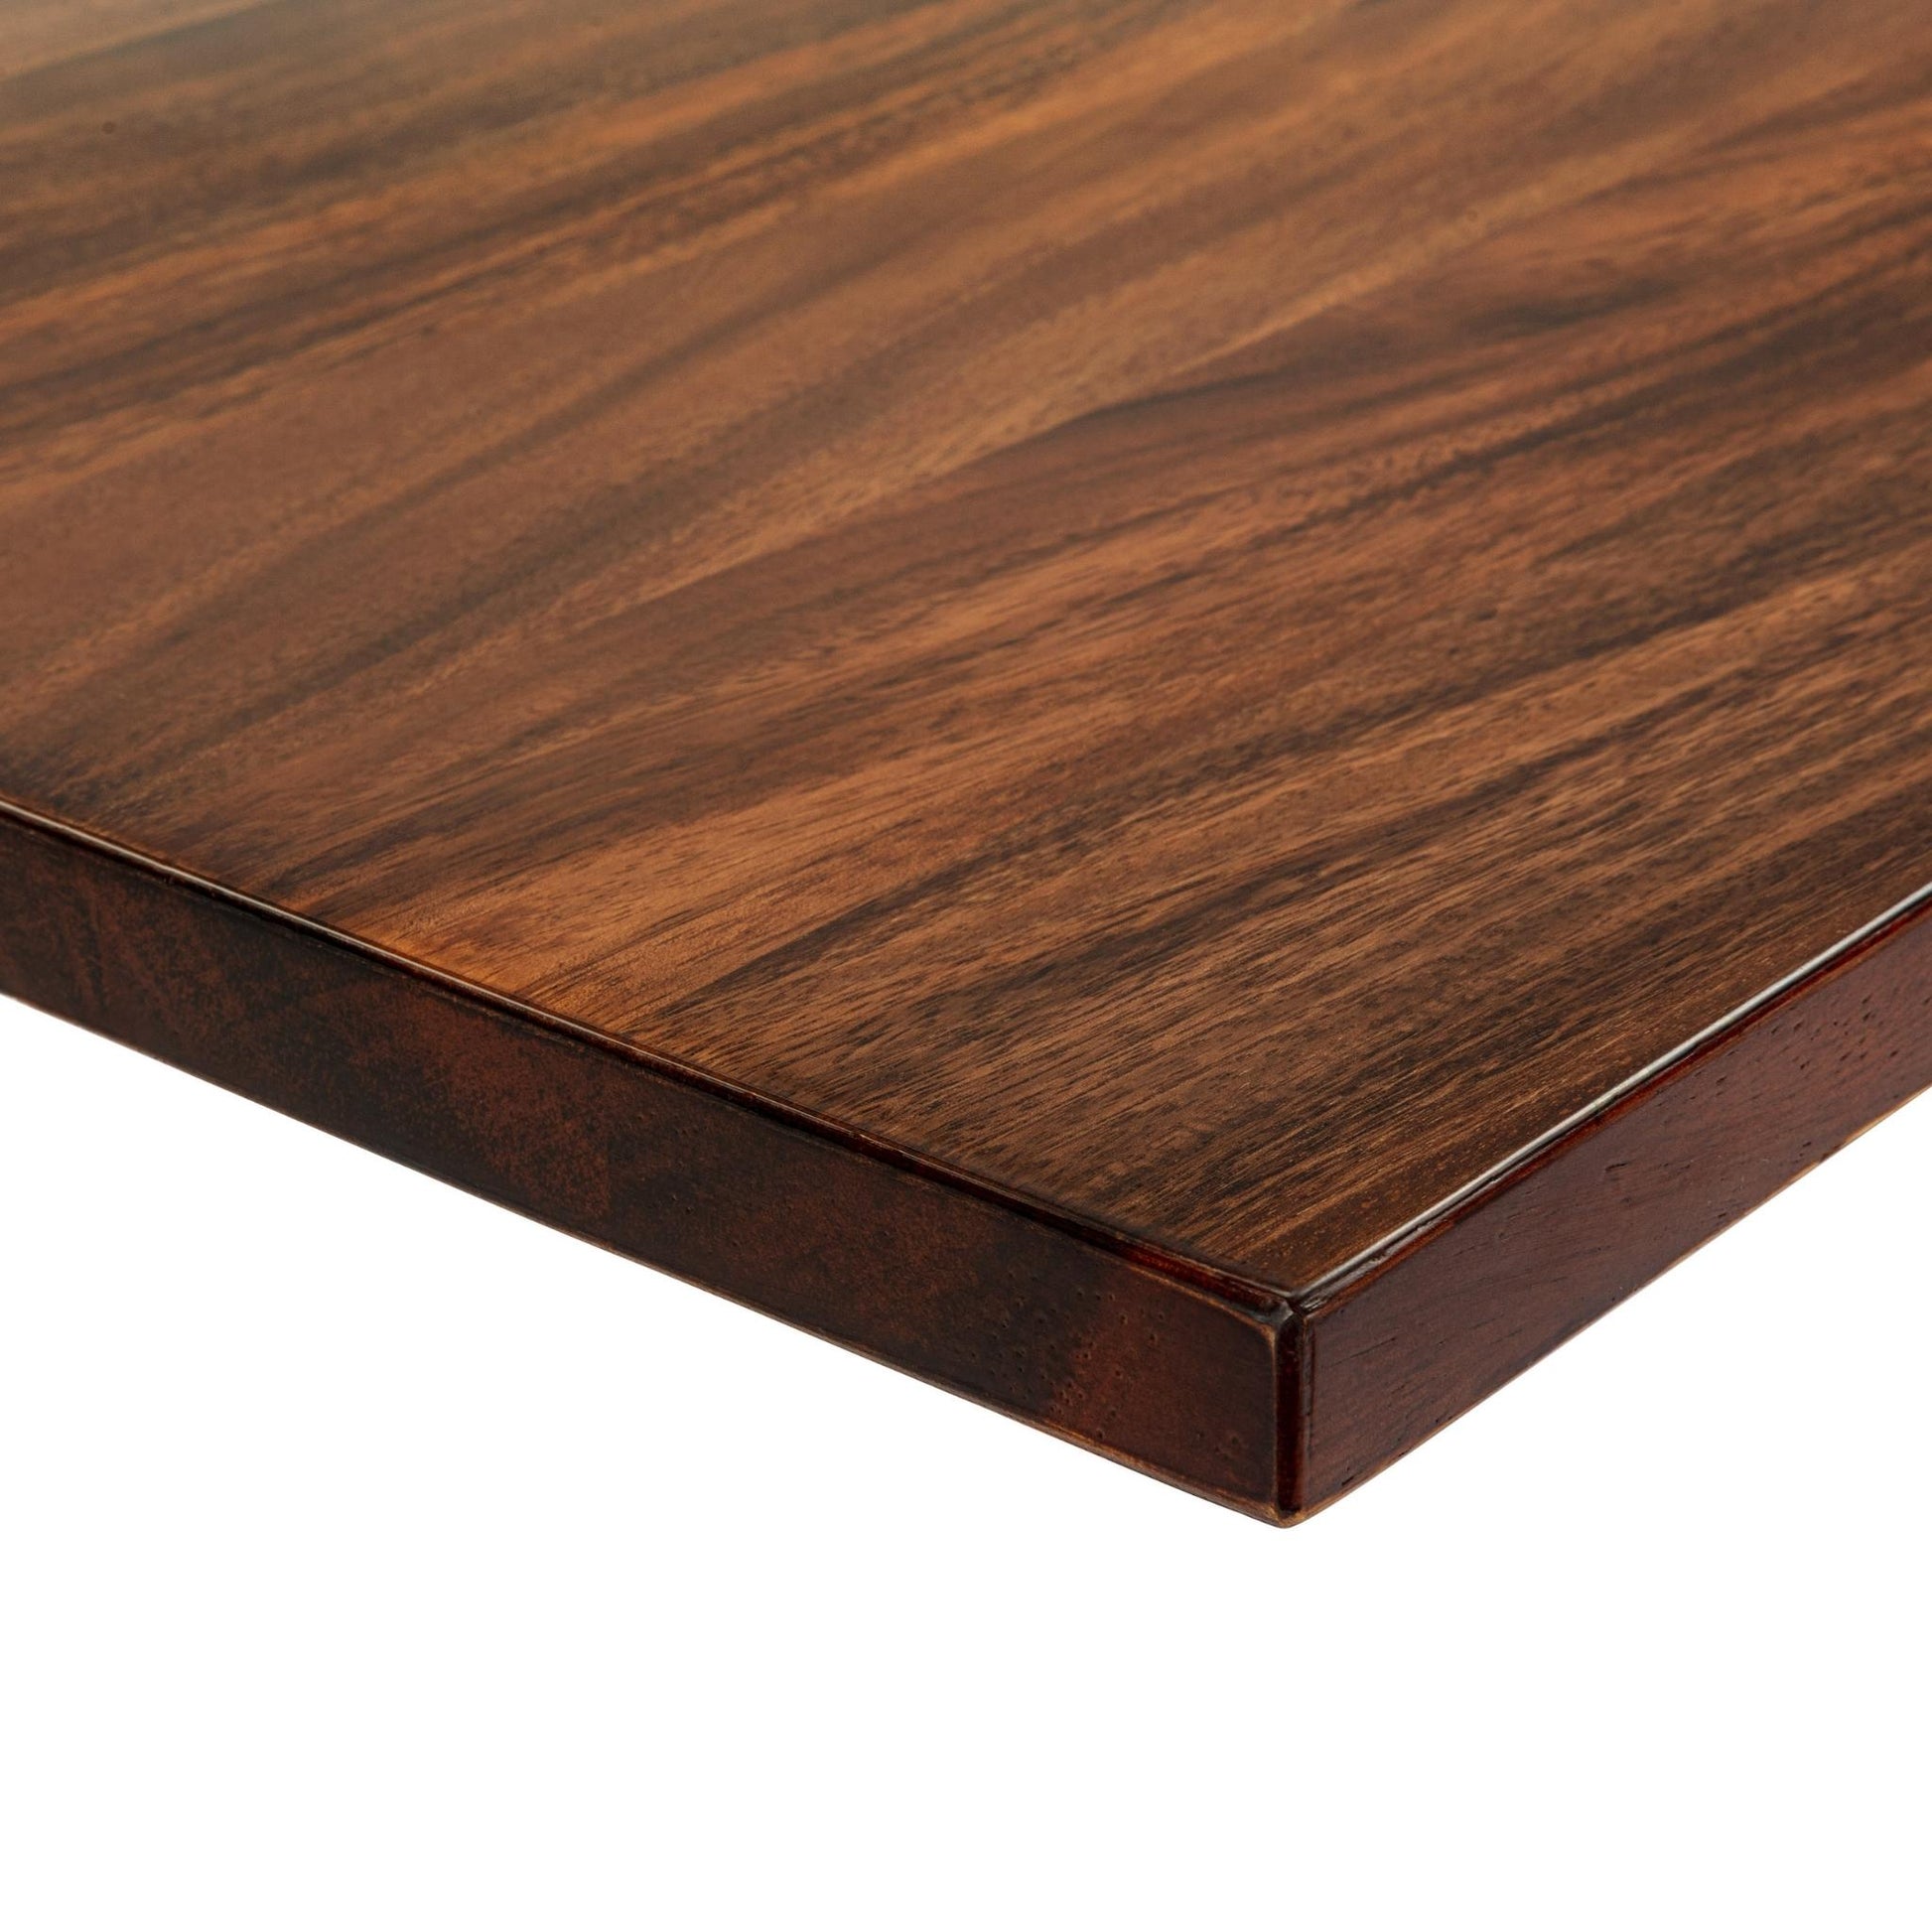
Step 8: Final Rub for a Silky, Professional Feel
4
Once your final coat is dry, you’re almost done. But this last step takes your project from “good” to “wow.”
After 24 to 72 hours of curing, lightly rub the surface. Use a fine pad and a small amount of wax. Move along the grain with gentle pressure.
This smooths tiny imperfections and softens the feel. It also gives a soft glow that looks natural, not plastic.
If you want more shine, use a polishing compound. But for most walnut pieces, a satin feel looks best.
This step is like ironing clothes. Small effort, big difference.
Common Walnut Finishing Problems (And Easy Fixes)
Even with care, things can go wrong. Don’t worry. Most issues are easy to fix if you stay calm.
Blotchy or Uneven Color
This often comes from glue spots or uneven sanding. The finish can’t soak in evenly.
Fix it by sanding the area again. Remove glue completely. Reapply finish evenly.
Dust Bumps or Rough Texture
Tiny dust particles settle during drying. It happens to everyone.
Let the coat dry fully. Sand lightly with fine grit. Wipe clean and apply another thin coat.
Runs and Drips
Too much finish causes this, especially on edges.
Wait until it hardens. Then level it with sandpaper or a blade. Reapply a thin coat.
Sticky or Soft Finish
This usually means it hasn’t cured fully. Cold or humid air slows drying.
Give it more time. If it stays sticky, sand lightly and let it breathe before recoating.
Pro Tips to Get a Rich, Durable Glow Every Time
These small habits make a big difference. They turn average results into great ones.
- Use thin coats always: Thick layers trap moisture
- Work in a clean space: Less dust, better finish
- Follow drying times: Don’t rush between coats
- Use good lighting: It helps spot flaws early
- Stay consistent: Same steps give predictable results
One thing I always remind myself: finishing is not about speed. It’s about control.
Oil vs Polyurethane: Which One Should You Pick?
Choosing between oil and polyurethane can feel confusing. Let’s make it simple.
Quick Comparison
| Feature | Oil Finish | Polyurethane |
|---|---|---|
| Look | Natural, warm | Glossy or satin |
| Feel | Soft, organic | Smooth, sealed |
| Protection | Low | High |
| Repair | Easy | Harder |
| Best for | Decorative items | Heavy-use furniture |
If your piece will face spills or heat, go with polyurethane. If you want a natural feel, oil works well.
Most woodworkers prefer a mix. Oil first, then polyurethane. It gives both beauty and strength.
Do You Need Grain Filler for Walnut?
This depends on the look you want.
Walnut has open pores. If you leave them, the surface feels textured. Many people love this natural feel.
If you want a glass-like finish, use a grain filler before finishing. It fills the pores and smooths the surface.
Personally, I often skip it. Walnut looks more honest with its natural texture. But for formal furniture, filler can add a refined touch.
Best Finishing Routine for Different Projects
Not all walnut projects are the same. Here’s a quick guide to help you choose.
Recommended Finishes by Use
- Dining tables: Oil + 4–5 coats polyurethane
- Desks: Oil + wiping varnish
- Shelves: Oil or hardwax oil
- Decor items: Oil only
- Cutting boards: Food-safe oil
Think of it like clothing. You wouldn’t wear the same outfit to a wedding and a hike. Your finish should match the job.
Mistakes Beginners Make (And How to Avoid Them)
I’ve made most of these myself. So you don’t have to.
Rushing the Process
People often hurry between coats. This traps moisture and ruins the finish.
Solution: Follow drying times strictly.
Skipping Sanding Steps
Jumping grits leaves scratches behind.
Solution: Sand gradually and carefully.
Applying Too Much Finish
More is not better here.
Solution: Always use thin coats.
Ignoring Testing
Skipping scrap tests leads to surprises.
Solution: Always test your finish first.
Mistakes are part of learning. But avoiding these saves time and frustration.
Why Thin Coats Matter So Much
This idea deserves its own section. Thin coats are the secret to a clean finish.
Thick coats dry unevenly. They trap air and create bubbles. They also lead to drips and sticky surfaces.
Thin coats dry faster. They level better. They build up smoothly over time.
Imagine stacking paper instead of bricks. Each layer is light, but together they become strong.
That’s how you get a rich, durable glow.
Maintenance Tips to Keep Walnut Looking New
Finishing is not the end. It’s the start of care.
Keep your walnut piece clean. Use a soft cloth for dust. Avoid harsh cleaners.
For oil finishes, reapply oil when the wood looks dry. For polyurethane, clean spills quickly.
Avoid placing hot items directly on the surface. Use coasters and mats.
A little care keeps your walnut glowing for years.
FAQs About How to Finish Walnut Wood: 7 Easy Steps for a Rich, Durable Glow
1. What is the best finish for walnut wood?
The best finish depends on use. For most furniture, oil plus polyurethane works best. It gives both beauty and protection.
2. How smooth should walnut be before finishing?
Sand up to 220 grit for most finishes. This gives a smooth surface without sealing the pores too much.
3. Can I finish walnut without sanding?
It’s not recommended. Sanding removes flaws and helps the finish absorb evenly.
4. How long does walnut finish take to cure?
Drying may take hours, but full curing can take days. Always allow proper time before use.
5. Should I stain walnut wood?
Usually no. Walnut already has rich color. Stain can hide its natural beauty.
6. Is oil finish enough for a table?
Oil alone is not enough for heavy use. Add a protective topcoat like polyurethane.
7. How do I fix a bad walnut finish?
Sand the affected area and reapply finish. Most mistakes can be corrected with patience.
Final Thoughts: Let the Wood Speak
Finishing walnut used to scare me. It felt too valuable to risk mistakes. But over time, I learned something simple.
Walnut doesn’t need perfection. It needs respect.
When you follow How to Finish Walnut Wood: 7 Easy Steps for a Rich, Durable Glow, you’re not forcing beauty. You’re revealing it.
Take your time. Work in thin layers. Fix small issues early. Trust the process.
And most importantly, enjoy it. Because few things feel better than watching a dull board turn into a glowing piece of craftsmanship that lasts for years.