
Essential Measuring Tools Checklist: 5 Must-Haves for Clean Cuts
When I first started woodworking, I thought cutting was the hard part. Turns out, measuring is where everything begins or breaks. One wrong mark, and the whole project shifts. That’s when I learned the real value of a solid Essential Measuring Tools Checklist: 5 Must-Haves for Clean Cuts.
Think of measuring tools as your roadmap. If the map is wrong, no skill can fix the journey. Clean cuts don’t come from sharp tools alone. They come from clear layout lines, repeatable measurements, and simple habits that keep everything aligned.
In this guide, I’ll walk you through the tools that truly matter. Not fancy extras. Just the ones that make your work faster, cleaner, and more accurate.
The Simple Goal Behind Every Measurement
At its core, measuring has one goal:
Every cut must follow the line.
That sounds easy. But wood moves, tools vary, and eyes can trick you. So instead of chasing perfect numbers, focus on consistent references.
Here’s what good measuring helps you do:
- Keep boards square
- Make joints tight
- Align hardware cleanly
- Avoid wasted wood
When your measurements stay consistent, your cuts start to feel effortless.
What Makes a Measuring Tool “Essential”?
Not every tool earns a spot in your main kit. Some tools sit in drawers. Others live in your hand all day.
A tool becomes essential when it:
- Gives the same result every time
- Feels easy to read
- Works across many steps
- Saves time, not adds it
The Essential Measuring Tools Checklist: 5 Must-Haves for Clean Cuts focuses on tools that meet all these points.
The Core Kit Every Woodworker Should Have
Before we jump into the top five, it helps to know the full picture. A strong measuring setup usually includes:
- Tape measure
- Steel rule
- Combination square
- Marking knife
- Pencil
- Marking gauge
- Bevel gauge
- Straightedge
- Calipers
This full set covers almost every situation. But if you want to start smart, focus on the five tools below.
Top 5 Essential Measuring Tools for Clean Cuts
1. Tape Measure – Your First Line of Accuracy
A tape measure is the tool you grab first. It handles long cuts and rough sizing.
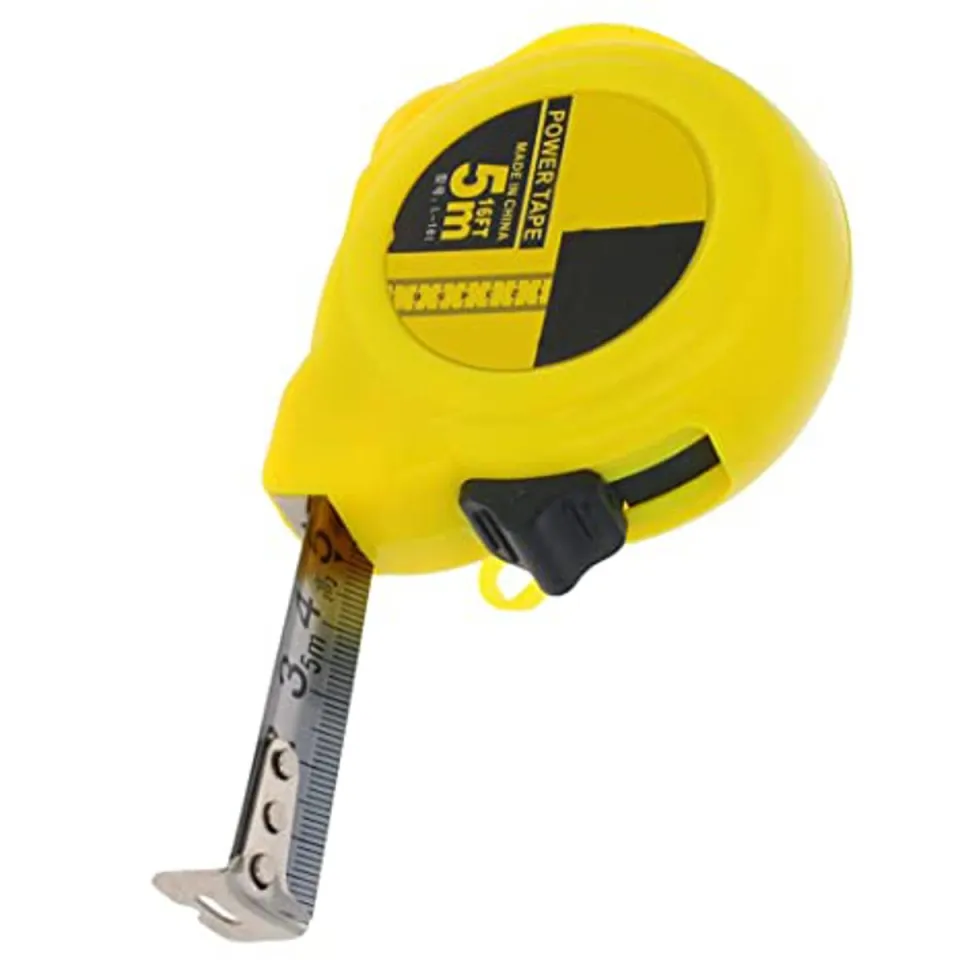

A good tape should:
- Lock firmly
- Have clear markings
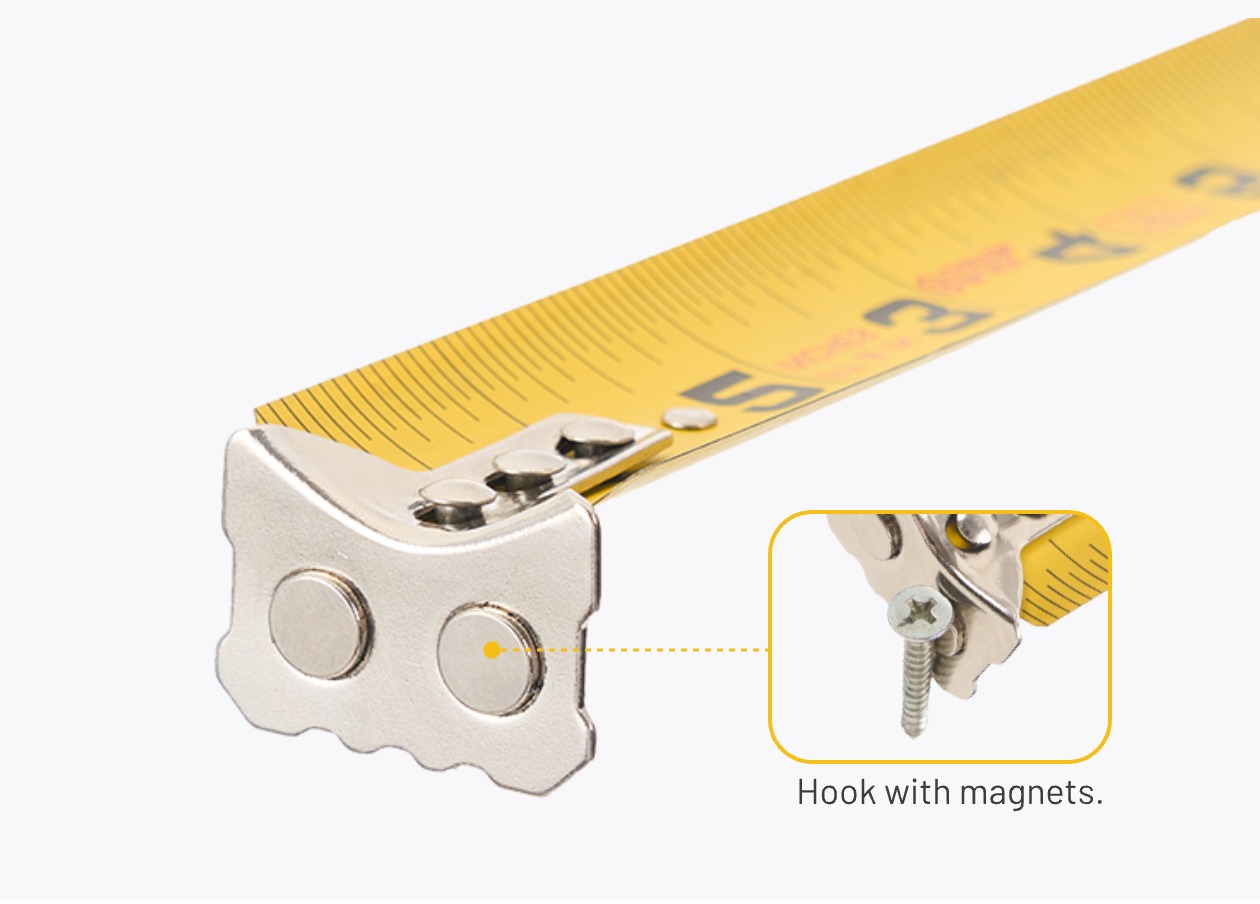
- Feature a smooth hook
Here’s a tip from experience. Always check the hook. It should move slightly. That small movement ensures accurate inside and outside measurements.
Use this tool early in your workflow. Think of it as sketching before painting.
2. Combination Square – The Backbone of Clean Layout
If I had to keep only one tool, this would be it. A combination square helps you create perfect 90-degree and 45-degree lines.


It works for:
- Checking squareness
- Marking lines
- Setting depths
A strong square feels solid. No wiggle. That stability keeps your layout lines sharp and reliable.
Always test it when you buy it. A quick flip test tells you if it’s true.
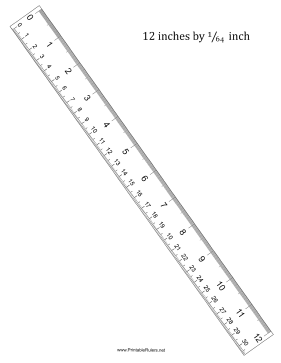
3. Steel Rule – Precision in Small Spaces
Tape measures are great, but they can feel bulky. That’s where a steel rule shines.
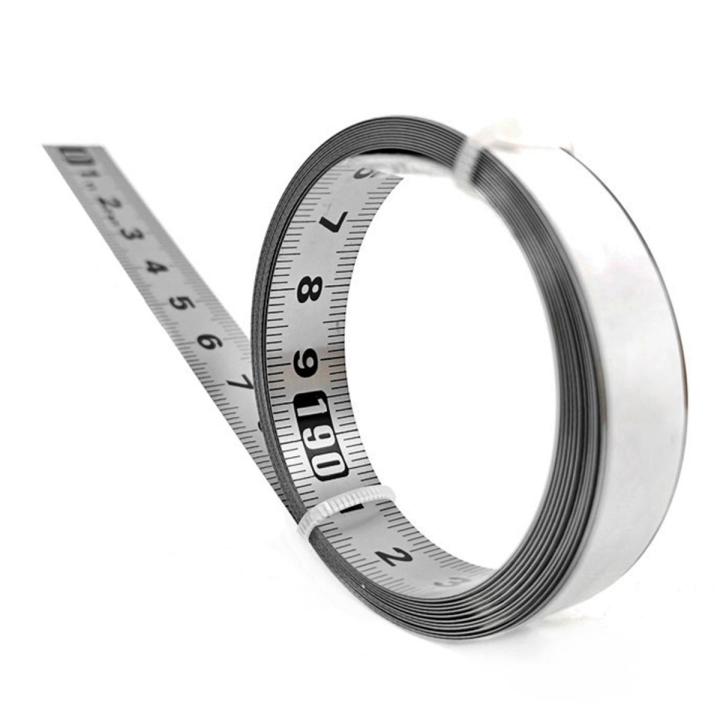

A steel rule:
- Reads small dimensions better
- Fits tight areas
- Reduces error
Look for etched markings. They stay readable longer. Painted lines fade over time.
This tool is perfect for fine layout. When accuracy matters most, reach for this instead of your tape.
4. Digital Calipers – Small Details, Big Difference
This is the tool that made me rethink precision. Calipers help you measure things your eyes can’t judge.


Use them for:
- Thickness checks
- Inside measurements
- Hardware sizing
They give fast readings in inches or millimeters. Just remember to zero them often. Dust and chips can throw off results.
When parts need to match perfectly, this tool saves the day.
5. Digital Level and Angle Gauge – Perfect Angles Every Time
Angles can be tricky. Even a small mistake shows up fast in your final piece.
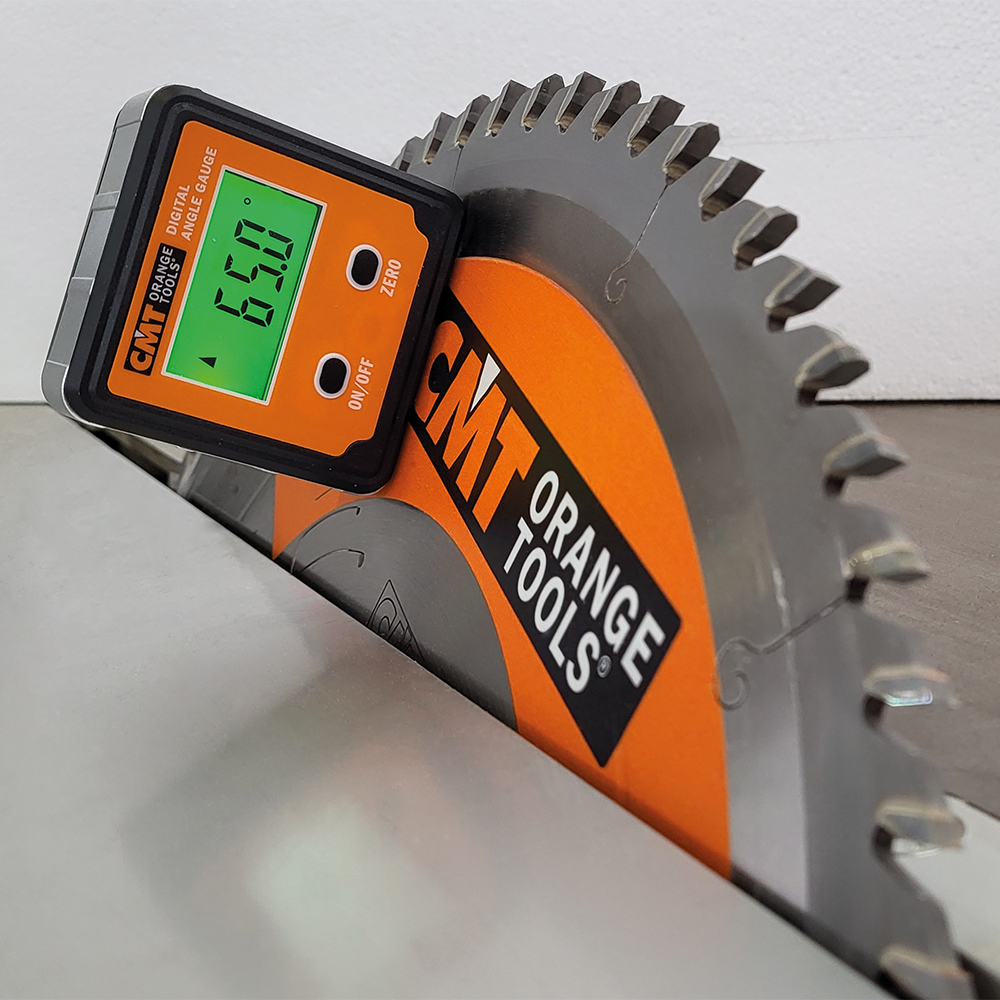


A digital level helps you:
- Set blade angles
- Check slopes
- Align machines
The magnetic base is a huge plus. It sticks to metal surfaces and frees your hands.
Always calibrate it before use. That simple step keeps your readings trustworthy.
How These Tools Work Together in Real Projects
Each tool has its moment. The key is knowing when to use what.
Here’s a simple workflow:
| Stage | Tools to Use | Purpose |
|---|---|---|
| Rough cutting | Tape measure, pencil | Mark overall size |
| Layout | Steel rule, square, knife | Create precise lines |
| Fitting | Calipers, straightedge | Match parts |
| Setup | Angle gauge, square | Align tools |
| Assembly | Level, square | Final checks |
When you follow this flow, your work feels smoother. Each step builds on the last.
A Real-Life Lesson from My Workshop
I once built a small shelf. Everything looked fine until assembly. Nothing lined up.
The issue? I used two different tape measures. They read slightly differently.
That day taught me a simple rule:
Stick to one reference tool per project.
Since then, my cuts have been cleaner. My projects fit better. And I waste far less wood.
Why Consistency Beats Perfection
Many beginners chase perfect numbers. But woodworking is not about perfect numbers. It’s about repeatable results.
A line that repeats is more valuable than a number that changes.
The Essential Measuring Tools Checklist: 5 Must-Haves for Clean Cuts helps you build that consistency. Once you trust your tools, your confidence grows fast.
Common Measuring Mistakes to Avoid
Even with great tools, mistakes happen. Here are a few to watch out for:
- Reading measurements at an angle
- Using thick pencil lines
- Switching tools mid-project
- Ignoring reference edges
- Forgetting blade thickness
Each small mistake adds up. But once you notice them, they’re easy to fix.
Choosing Tools That Last
Not all tools are built the same. Some feel good in the store but fail in real use.
Look for:
- Solid construction
- Clear markings
- Smooth movement
- Strong edges
A reliable tool doesn’t just measure. It builds trust.
Building a Workflow That Feels Natural
Once you get used to your tools, measuring stops feeling like a task. It becomes a rhythm. You measure, mark, and cut without second-guessing.
I like to think of it like cooking. You don’t measure every grain of salt. You learn the flow. The same applies here. With the Essential Measuring Tools Checklist: 5 Must-Haves for Clean Cuts, your workflow becomes smooth and predictable.
Start simple. Use one tool at a time. Let each step guide the next. Over time, your hands will know what to do.
The Power of Reference Faces and Edges
This idea changed everything for me. Instead of measuring from random sides, always pick one face and one edge as your reference.
Mark them clearly. Then use them for every measurement.
Why does this matter?
- It reduces errors
- Keeps parts aligned
- Makes matching pieces easier
Think of it like a home base. No matter where you go, you return to it. That’s how you stay accurate.
Story Sticks: The Secret to Repeat Accuracy
Numbers can lie. Tools can shift. But a story stick never changes.
A story stick is just a piece of wood with marked dimensions. You transfer measurements directly from it.
Here’s why it works so well:
- No re-reading numbers
- No math mistakes
- Perfect for repeated parts
I use one when building shelves or trays. It saves time and removes doubt. It’s one of those tricks you wish you learned earlier.
Measuring for Joinery: Where Precision Matters Most
Joinery is where measuring becomes critical. Even a small error shows up fast.
Use this approach:
- Mark with a knife, not a pencil
- Measure from the same edge
- Cut slightly outside the line
A knife line gives you a clear edge to follow. It also helps prevent tear-out.
This is where the Essential Measuring Tools Checklist: 5 Must-Haves for Clean Cuts really proves its value. Clean lines lead to tight joints.
How to Keep Your Tools Accurate Over Time
Tools don’t stay perfect forever. They wear down. They shift. So you need simple checks.
Here are a few habits to build:
- Test your square with a flip test
- Clean your calipers often
- Check tape hook movement
- Store tools safely
These small steps take seconds. But they protect your accuracy for years.
Quick Accuracy Checklist
Before starting any project, run through this:
- Is my square true?
- Am I using one main measuring tool?
- Did I mark a reference edge?
- Are my tools clean?
This quick check keeps mistakes away. It’s like warming up before a workout.
Expanding Beyond the Basics
Once you master the basics, you can add more tools. But only when needed.
Useful additions include:
- Winding sticks for twist
- Feeler gauges for gaps
- Bevel gauge for angles
- Straightedge for flatness
These tools refine your work. But they don’t replace the core set.
The Essential Measuring Tools Checklist: 5 Must-Haves for Clean Cuts should always come first.
Troubleshooting Common Measuring Problems
Why do my cuts not match?
This often comes from changing reference points. Stick to one edge and one tool.
Why do angles feel off?
Your angle gauge may need calibration. Always reset it before use.
Why are joints loose?
Your layout lines may be too thick. Switch to a marking knife for precision.
Why do parts vary in size?
You might be measuring each piece separately. Use a stop block or story stick instead.
Table: Tool Purpose at a Glance
| Tool | Main Use | Best Stage |
|---|---|---|
| Tape Measure | Long dimensions | Start |
| Combination Square | Square lines | Layout |
| Steel Rule | Fine measuring | Detail work |
| Calipers | Thickness & fit | Matching |
| Digital Level | Angle setup | Machine setup |
This table keeps things simple. When in doubt, refer back to it.
Emotional Side of Measuring: Why It Builds Confidence
There’s something calming about accurate measuring. It gives you control.
When your lines are clear, your cuts feel easier. When your cuts are clean, your project comes together smoothly.
It’s like trust. You trust your tools. And they reward you with better results.
The Essential Measuring Tools Checklist: 5 Must-Haves for Clean Cuts is not just about tools. It’s about building confidence in your craft.
Safety While Measuring and Marking
Measuring may seem safe, but it still needs care.
Keep these points in mind:
- Retract tape slowly
- Keep knives covered
- Unplug machines during setup
- Keep fingers away from blades
Good habits protect both your work and your hands.
FAQs: Essential Measuring Tools Checklist
1. What is the most important tool in the checklist?
The combination square is often the most used. It handles multiple tasks with ease.
2. Can I rely only on a tape measure?
Not fully. A tape is great for long measurements, but less accurate for fine work.
3. Why are calipers useful in woodworking?
They measure thickness and inside spaces with high precision. Perfect for tight fits.
4. How often should I check tool accuracy?
Check before each major project. Quick tests save big mistakes.
5. What is better: pencil or marking knife?
A marking knife gives sharper, cleaner lines. It’s better for joinery.
6. Do I need digital tools?
Not always. But digital tools make setup faster and more precise.
7. How do I avoid measurement errors?
Stick to one reference edge and one measuring tool throughout the project.
Final Thoughts: Build Once, Measure Right Forever
If there’s one thing I’ve learned, it’s this: measuring is not a step. It’s the foundation.
When you invest in the Essential Measuring Tools Checklist: 5 Must-Haves for Clean Cuts, you’re not just buying tools. You’re building a system.
A system that:
- Saves time
- Reduces waste
- Improves accuracy
- Builds confidence
Start small. Stay consistent. Trust your process.
And remember, every clean cut begins long before the saw touches the wood.